


Visual regression testing with Detox
Detox supports taking screenshots, which can be used for visual regression testing purposes.
As discussed in the Detox documentation:
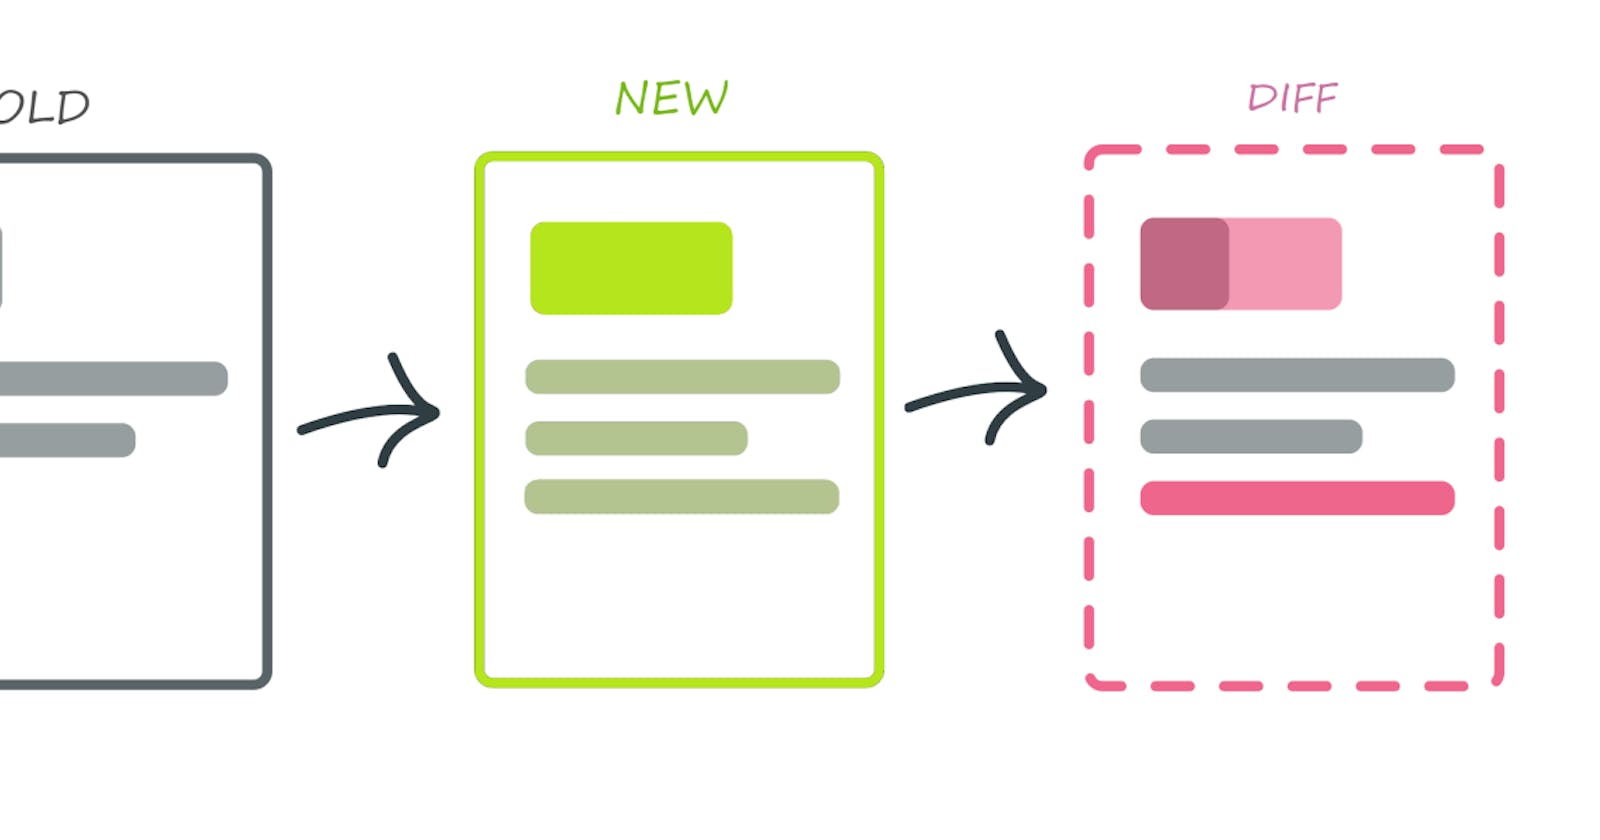
In both cases, the concept is mainly useful for verifying the proper visual structure and layout of elements appearing on the device's screen, in the form of a snapshot-test. Namely, by following these conceptual steps:
- Taking a screenshot, once, and manually verifying it, visually.
- Storing it as an e2e-test asset (i.e. the snapshot).
- Using it as the point-of-reference for comparison against screenshots taken in consequent tests, from that point on.
This is the code sample they provide:
const fs = require('fs');

describe('Members area', () => {
  const snapshottedImagePath = './e2e/assets/snapshotted-image.png';

  it('should greet the member with an announcement', async () => {
    const imagePath = (take screenshot from the device); // Discussed below
    expectBitmapsToBeEqual(imagePath, snapshottedImagePath);
  });
});

function expectBitmapsToBeEqual(imagePath, expectedImagePath) {
  const bitmapBuffer = fs.readFileSync(imagePath);
  const expectedBitmapBuffer = fs.readFileSync(expectedImagePath);
  if (!bitmapBuffer.equals(expectedBitmapBuffer)) {
    throw new Error(`Expected image at ${imagePath} to be equal to image at ${expectedImagePath}, but it was different!`);
  }
}
But, they state:
Important: The recommended, more practical way of doing this, is by utilizing more advanced 3rd-party image snapshotting & comparison tools such as Applitools.
However, in my experience, if you can control the data, then doing a pixel-by-pixel comparison is reasonably possible on mobile, at least for a small number of comparisons. This blog post will take you through how we set it up for Detox.
Taking screenshots
As discussed in the linked docs, we have to put the device into demo mode, as the battery level, time and network information could change each time we run the tests.
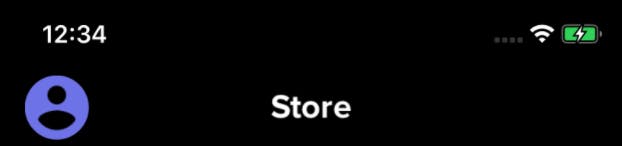
As the image includes, for example, the current time (at the top-left corner), running the test in any different time would unnecessarily result in an utter comparison failure, making the test downright useless. Fortunately, this can be resolved, by putting the device into "demo mode" (i.e. freezing the irrelevant, volatile elements)
async function setDemoMode() {
  if (device.getPlatform() === 'ios') {
    await device.setStatusBar({ time: '12:34', dataNetwork: 'wifi',  wifiBars: '3',  batteryState: 'charging', batteryLevel: '100'});
  } else {
    // enter demo mode
    execSync('adb shell settings put global sysui_demo_allowed 1');
    // display time 12:00
    execSync('adb shell am broadcast -a com.android.systemui.demo -e command clock -e hhmm 1200');
    // Display full mobile data with 4g type and no wifi
    execSync(
      'adb shell am broadcast -a com.android.systemui.demo -e command network -e mobile show -e level 4 -e datatype 4g -e wifi false'
    );
    // Hide notifications
    execSync('adb shell am broadcast -a com.android.systemui.demo -e command notifications -e visible false');
    // Show full battery but not in charging state
    execSync('adb shell am broadcast -a com.android.systemui.demo -e command battery -e plugged false -e level 100');
  }
}
Jest Image Snapshot
Given we were already using Jest Circus as our test runner, it made sense to see if we could incorporateJest Image Snapshot, which looked extremely promising.
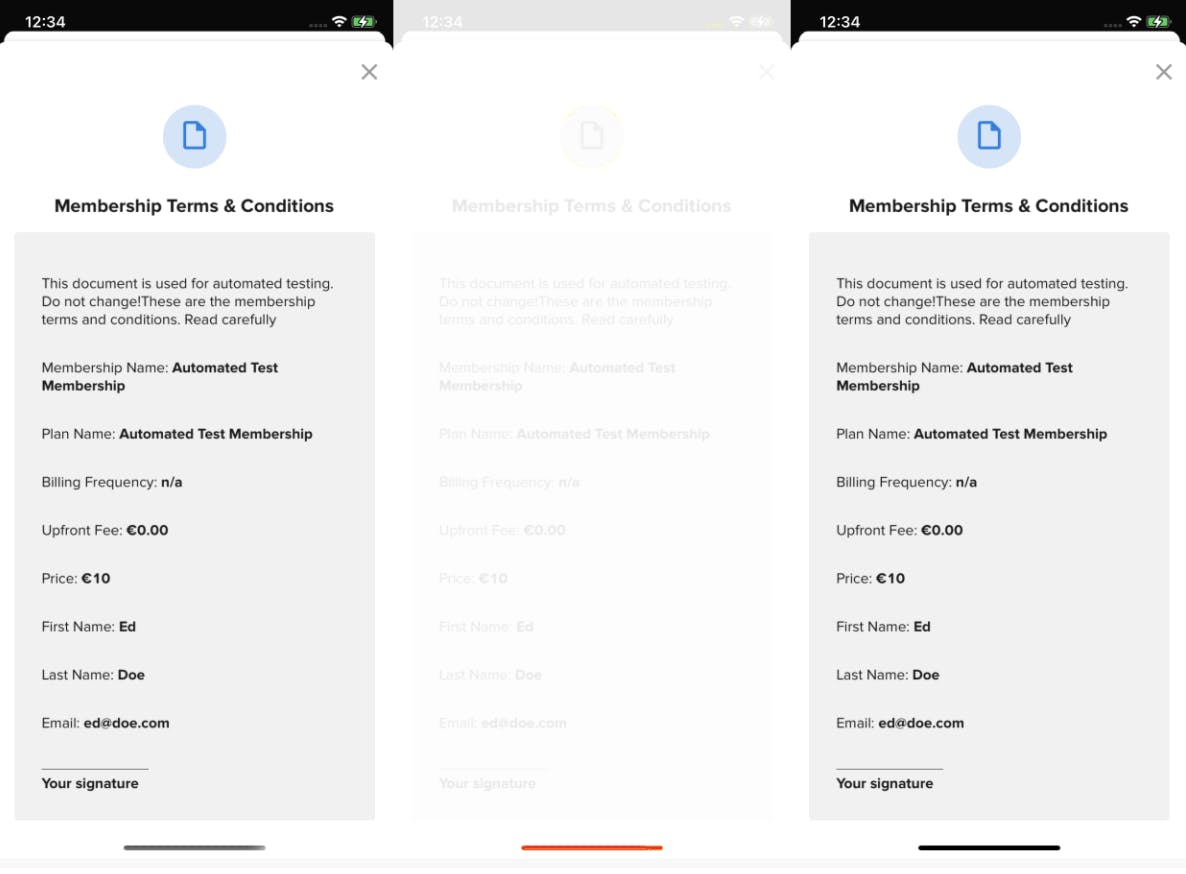
By default Jest Image Snapshot uses pixelmatch, but as it turned out using a pixel by pixel comparison was indeed not sufficient, at least when running on a CI server (CircleCI in our case). The following example shows one of the comparison failures we had with Pixelmatch:
Upon further reading I saw Jest Image Snapshot also provides the option to use SSIM; here is the same comparison using that algorithm - it shows a less of difference:
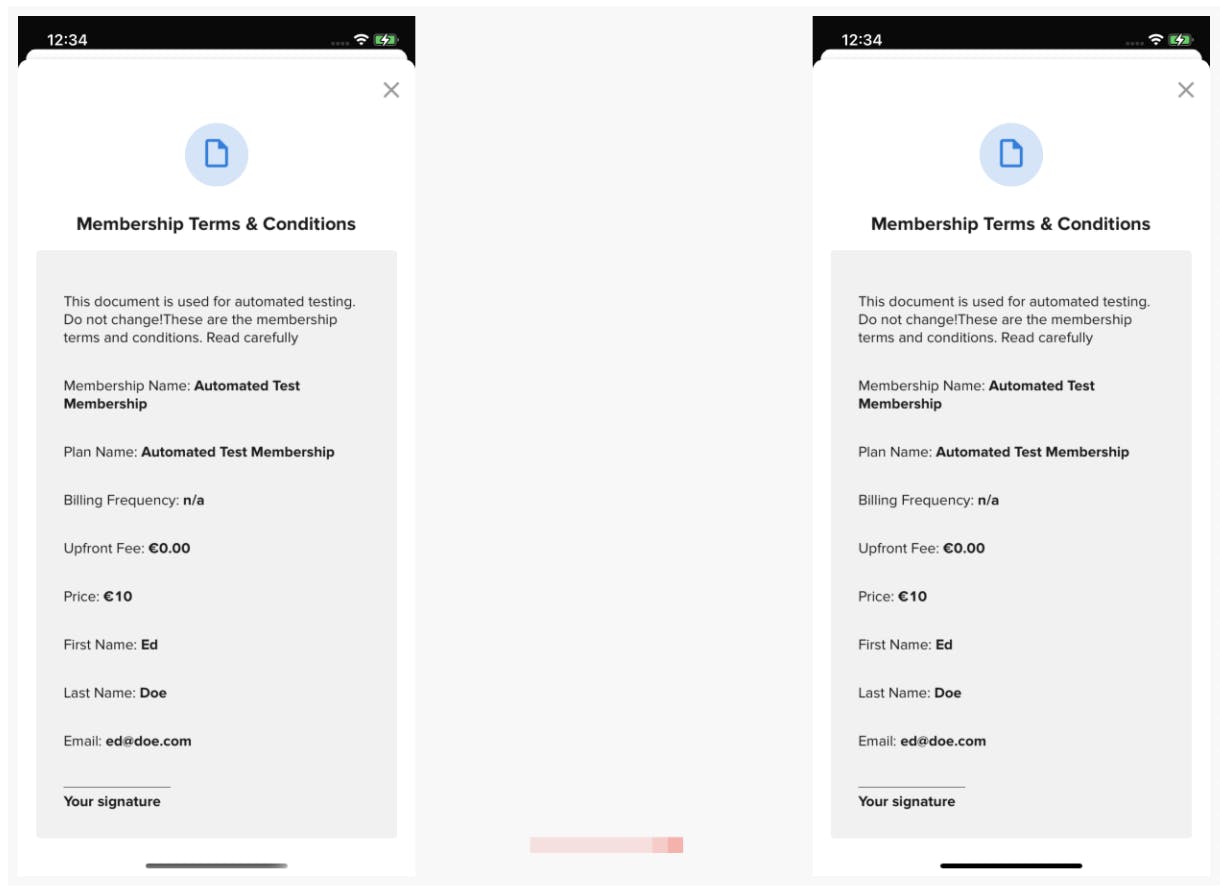
With a bit of experimentation as per Recommendations using SSIM Comparison, we are able to set the comparison to SSIM as follows, with an extremely small allowance for mismatches that the human eye would either not see, or care about.
const toMatchImage = configureToMatchImageSnapshot({
  comparisonMethod: 'ssim', failureThreshold: 0.002, failureThresholdType: 'percent'
});
Using this comparison method, and failure threshold results in a match for the above comparison.
Extend jest expect
To aid writing tests, I thought it made sense to provide some convenience methods by extending jest expect and automatically taking a screenshot if the method is invoked; in addition, we need to consider the platform, device name, and device type when doing the comparisons.
const { configureToMatchImageSnapshot } = require('jest-image-snapshot');
const fs = require('fs');
const path = require('path');
const kebabCase = require('lodash/kebabCase');

const toMatchImage = configureToMatchImageSnapshot({
  comparisonMethod: 'ssim', failureThreshold: 0.002, failureThresholdType: 'percent'
});

jestExpect.extend({ toMatchImage });

jestExpect.extend({
  async toMatchImageSnapshot(screenName) {
    const platform = await device.getPlatform();
    const deviceName = await device.name.split(' ').slice(1).join('');
    const deviceType = JSON.parse(deviceName).type.replace(',','');

    const SNAPSHOTS_DIR = `__image_snapshots__/${platform}/${deviceType}`;

    const { testPath, currentTestName } = this;

    const customSnapshotsDir = path.join(path.dirname(testPath), SNAPSHOTS_DIR);
    const customSnapshotIdentifier = kebabCase(`${path.basename(testPath)}-${currentTestName}-${screenName}`)

    const tempPath = await device.takeScreenshot(screenName);
    const image = fs.readFileSync(tempPath);
    jestExpect(image).toMatchImage({ customSnapshotIdentifier, customSnapshotsDir });

    return { pass: true }
  },
});

global.jestExpect = jestExpect
Writing an expectation for an image comparison then becomes as simple as:
it('Terms and conditions should match snapshot', async () => {
  await jestExpect('Terms and conditions').toMatchImageSnapshot();
})
Attaching the failing diff to Allure Report
We discussed in a previous blog post how to add an Allure Reporter for Detox; we can make a small update to capture the diff image if that was the reason for failure.
 async test_done(event) {
    if (event.test.errors.length > 0) {
      const { test } = event;
      const screenshotPath = await this.detox.device.takeScreenshot(`${test.startedAt}-failed`);
      const buffer = fs.readFileSync(`${screenshotPath}`, {encoding: 'base64'});
      this._allure.addAttachment('Test failure screenshot', Buffer.from(buffer, 'base64'), 'image/png');

      const err = test.errors[0][0];
      err.message = stripAnsi(err.message);
      err.stack = stripAnsi(err.stack);

      if (err.message.includes('See diff for details:')) {
        const file = err.message.split('See diff for details:')[1].trim();
        const buffer = fs.readFileSync(`${file}`, {encoding: 'base64'});
        this._allure.addAttachment('Image comparison failure', Buffer.from(buffer, 'base64'), 'image/png');
      }
      this._allure.endCase('failed', err);
    }
    else {
      this._allure.endCase('passed')
    }
  }
Summary
This solution required a little bit of experimentation with the comparison algorithms, but with sensible defaults and some extension of existing functionality, we have a straightforward way of doing automatic visual regression testing, all using open source tooling!